


Table of contents

No headings in the article.
We all have seen and most of us have even written Dockerfile(s) or Containerfile(s) to build container images out of those files and then write YAML manifests files to deploy application workload in Kubernetes Cluster.
You will be surprised If I say you don't need to do any of that to deploy your application in OpenShift Kubernetes Cluster. OpenShift has made it easier than ever before.
All you need is your source code in Version Control System and OpenShift will take care of everything from building an image from your source code to deploying your application in OpenShift Kubernetes Cluster.
Let's get started...
Before we jump into application deployment on OpenShift Cluster, let us know a little about OpenShift first. OpenShift is a Kubernetes distribution from RedHat, It is using source code from native Kubernetes and built new features on top of that using custom operators and custom resources (CRD)
You will see commands starting from oc in OpenShift, oc is similar to kubectl with some additional command switches and options.
- Create a new project
oc new-project php-app Deploy Application in OpenShift Cluster
oc new-app --name=php-app \
https://github.com/manish-jangra/DO288-apps.git \
--strategy=source
The above example is good enough when we are using a public repository but we all use private repositories at the enterprise level which means we need a way to authenticate to our private repository.
Create a generic secret. I would recommend avoiding using this command on shared machines like bastion host otherwise your credentials will be recorded in the bash history. Your laptop or dedicated machine will be a good choice
oc create secret generic <secret-name> \ --from-literal=username=<YOUR_GIT_USER> \ --from-literal=password=<YOUR_GIT_PASSWORD> \ --type=kubernetes.io/basic-auth- Add annotation to your secret for git URL
oc annotate secret/<secret-name> \ 'build.openshift.io/source-secret-match-uri-1=https://<YOUR_REPOSITORY_URL>' - Link your secret to the service account which is responsible for building images from source code. In this command, the builder is a service account which is used for building images in build pod.
oc secrets link builder <secret-name> # This links the newly created secret with the builder secret which is used by the build pod to fetch source code from the git repo and build an image out of that Deploy Application in OpenShift Cluster using source secret
oc new-app --name=php-app \
https://github.com/manish-jangra/DO288-apps.git \
--strategy=source --source-secret=<secret-name>
And if your application needs environment variables, for example, to connect to a database instance, you can use the following approach
Deploy the Application using the environment variable
oc new-app --name=php-app \ https://github.com/manish-jangra/DO288-apps.git \ --strategy=source --source-secret=<secret-name> --env KEY=VALUE- Deploy the Application using a file that has environment variables
oc new-app --name=php-app \
https://github.com/manish-jangra/DO288-apps.git \
--strategy=source --source-secret=<secret-name> --env-file=app.env
- --strategy option in the command helps us build our application either from source code, Dockerfile or Jenkinsfile. Jenkinsfile has now been deprecated. So we can use --strategy=source or --strategy=docker depending on the use case. I prefer to use the source option because that helps me avoid writing Dockerfile. You can use the following options to know more --strategy option in the oc new-app command.
oc new-app --help | grep -i strategy
--source-secret takes care of authenticating the git repo and fetching the code.
--env-file helps us declare environment variables.
The options are not just limited to what we have mentioned above. You can always dig deeper using the following command -
oc new-app --help
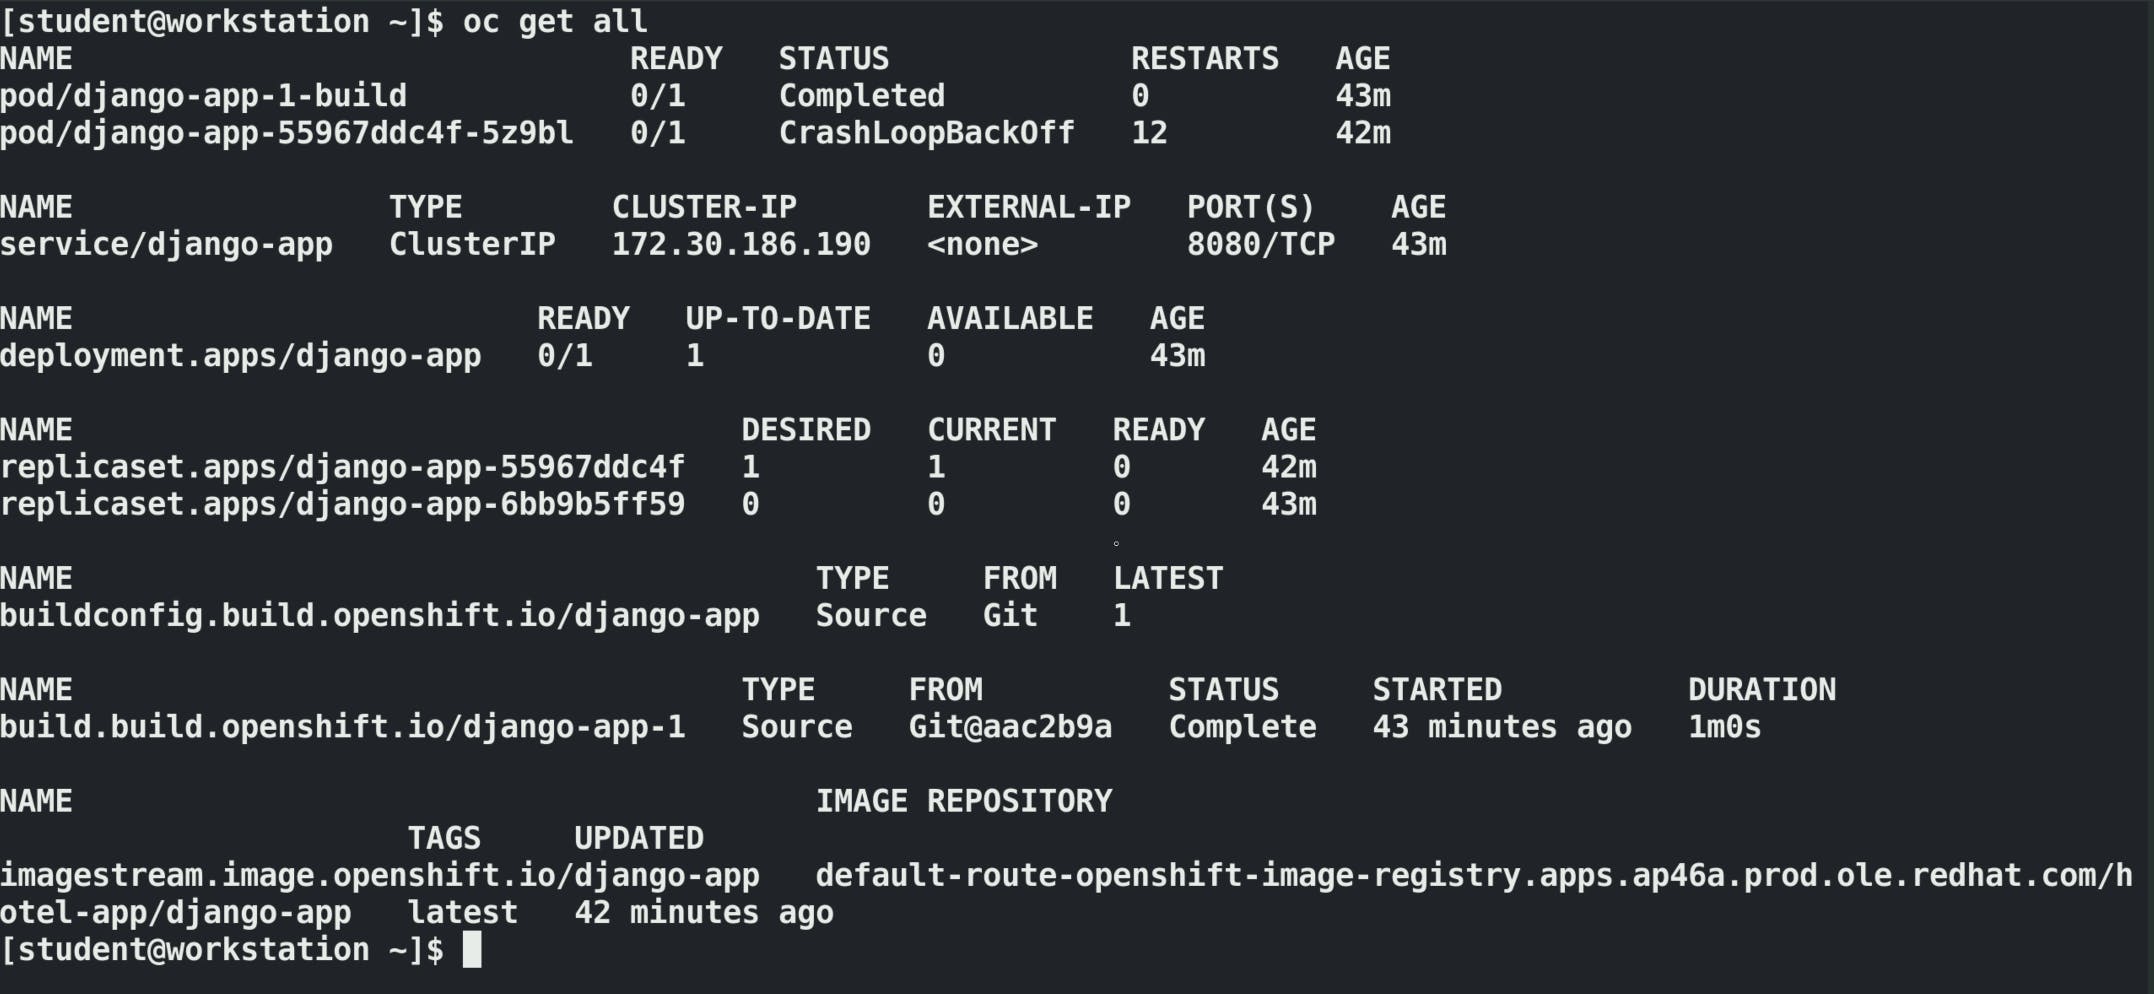
oc new-app command creates the following resources for your application -
Now, We are one step away from accessing our application in the web browser. We need to expose the service to create a route to access this application -
- Expose application service to create route or ingress (in native k8s). They call route in OpenShift.
oc expose service php-app - Get route for your application.
oc get routes

Put this URL in your web browser and you will find your application working :)

RedHat provides a Desktop version of OpenShift (Code Ready Containers) just like Rancher Desktop and Docker Desktop. It's very easy to set up. You can refer to the following link https://developers.redhat.com/blog/2019/09/05/red-hat-openshift-4-on-your-laptop-introducing-red-hat-codeready-containers.
Code Ready Containers also provides you with a nice management dashboard. I will highly recommend using Code Ready Containers for creating a development environment.
You can also refer to OpenShift's official document about oc new-app to know more about application deployment in OpenShift https://docs.openshift.com/container-platform/4.9/applications/creating_applications/creating-applications-using-cli.html